How to access your highlighted pages collection from all your computers?

As you probably know, you can access all your highlighted pages at my.marker.to page.

You can access your highlighted pages collection only from the same computer and same browser you have used to create these highlights.

But if you need to access and update your highlights list from your work computer or you need to replace your main computer, then we have new solution for you.

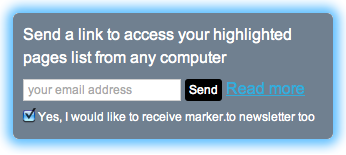
Just enter your email to the form on my.marker.to page. We will send you link you can use in any computer you want to connect to your account.

This special restore link will guarantee you a access to your highlights after you need to reinstall your operating system or need to upgrade your main computer. So it wouldn’t hurt to send it to your mailbox just in case.

Just click this restore link on all the computers where you want to use your account.

Please keep this link in secret and use it only on your private computers. As clicking this special restore link on public computer will grant access to everybody who are using this computer with current login.
Organizing your highlights with tagging

Our small team has been busy for a while and we are happy to announce a new experimental feature – TAGS. This should help you to organize your highlights collection on my.marker.to page.


So, how does it work?

First, highlight some text.

Stop your mouse cursor on highlighted text to see the toolbar.
Click on tag icon

And fill out tags you want (just use whitespace as separator)

Tags will be saved automatically.

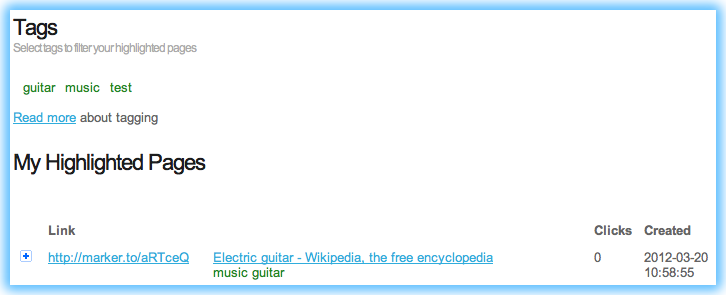
Once you are done with highlighting on your page, you should see your tags on my.marker.to page

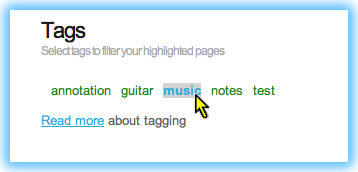
As you are using tags now, it is very easy to filter your selections collection. Just click on the tags name you want to filter out from your collection

And you should see only the filtered highlighted pages on your list, which are connected to this tag (“music” in this case).

You can select even multiple tags to filter out only records which have these tags.

Oh, did I mention that now you can see your highlighted text passages directly from my.marker.to without going to highlighted page? Just click on “+” sign in front of the entry.

There you have option to add or change tags for all your highlights too.

Please let us know about your ideas and suggestions how would you like to organize your highlights or what features you are missing the most!

Happy tagging!

Just select text to start highlighting

With new Chrome extension it is possible now to start highlighting right away after you have selected text on any webpage.

Just select some text

and you should see little yellow Quickstart icon  – click on it to highlight selected text and start highlighting and sharing tool.

If you would like to disable this feature, then please stop your mouse on this yellow icon for few seconds and select “Disable” form tooltip window.

We hope you will enjoy this fast highlighting method!

How to use marker.to highlighter pen

About Marker.to Yellow Highlighter Pen

Marker.to is web highlighting and annotation tool.
Hopefully you have completed installation on http://marker.to/install page or you have updated your extension to latest version.

Let us show you how to use marker.to highlighter pen.


Go to any website you would like to highlight.
For example, I went to http://en.wikipedia.org/wiki/Electric_guitar page.

Once the page is loaded just click the highlighter button on your toolbar:

    or       


Now you can select text on page with your mouse cursor and it will become highlighted.


Congratulations, you have successfully created your first highlight!

If you would like to change the highlight, just move your mouse cursor over highlighted text and you should see highlight toolbar.

You can pick new highlighter colour or you can use red   to remove the highlight. Optionally you can connect your highlight with place on the map or you can add tags.


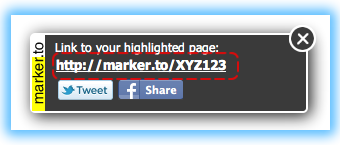
If you want to share  (or save to bookmarks for future reference) highlighted version of page then you should use marker.to toolbar

it contains unique address (like: http://marker.to/XYZ123) for your version of highlighted page. You can select and copy it to share in MSN, Skype or e-mail etc. Or you can use “Tweet” or “Share” buttons to share your highlighted page on social media with your comment.


Please note that all your highlighted pages will be available at http://marker.to/my page from the same computer and same browser.

Please leave your questions to blog post comments or send with feedback to: http://marker.to/contact

Have fun highlighting!

Continue reading

Geo-tagging Web in a New Way

We have new and exciting feature for marker.to users to try out!

We just added option  to add geographical location for highlighted text on the web pages.
This allows to connect web content with real physical locations in the world map.


How to try it out?

Once you have highlighted the text with marker.to tool, you can move mouse over highlighted area and click geo icon  from popup toolbar.


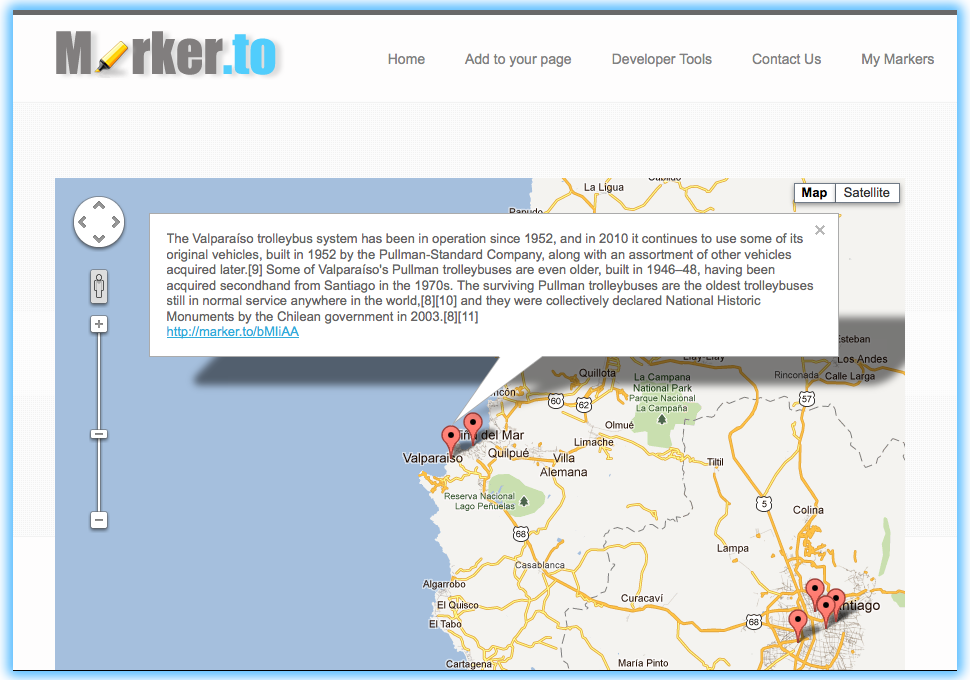
This will  bring up the map where you can click to set location for your highlighted text.

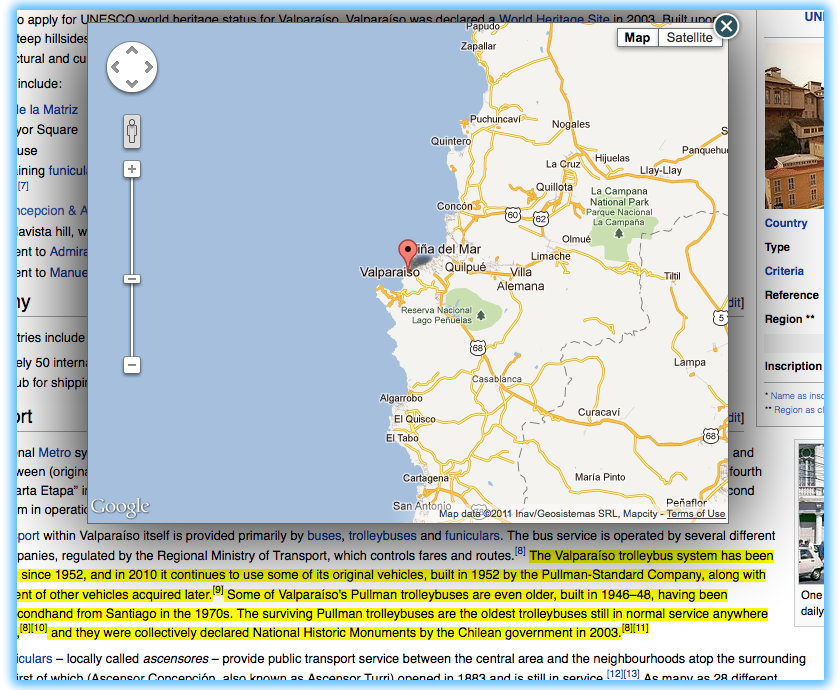
Once you have highlighted and geo-tagged your text, you can check out the map view of your highlihters from

http://marker.to/map

For example:

We believe that this feature is extra useful when you are planning travel – looking for sightseeing information and places to visit or highlighting historical materials.

Please let us know how would you like to use this feature?

How to install Marker.to highlighter for web?


UPDATE 01.03.2012: Please see Updated Installation Guide

In our first blog post we describe in detail how to install Marker.to. Before you can start highlighting the web, you need to install Marker.to browser extension for Chrome, Firefox or Safari browser.

If you use Internet Explorer or other browser then you could try out Chrome or Firefox or wait for our IE release.

NB! Highlighted pages can be viewed with any major browser.
If you open website www.marker.to you should notice a big green install button.

Click on the Install button :)

Please select your browser type for detailed instructions:

Chrome

Firefox

Safari

Google Chrome

Click on Install button and you will go to
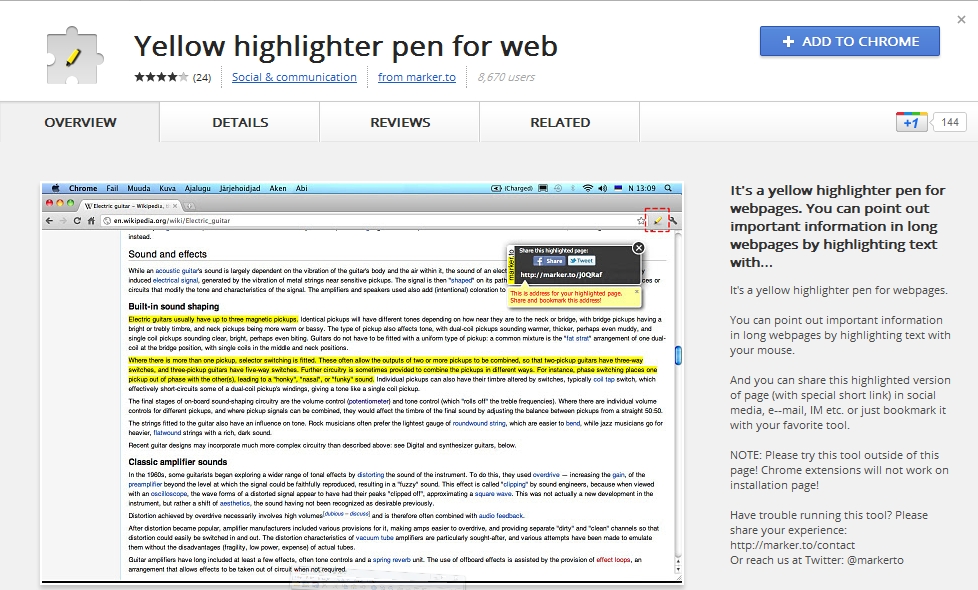
https://chrome.google.com/webstore/detail/lnmengjdnfjbochkdkcjbbpildacancp


You will see this screen in Chrome Webstore:

Marker.to highlighter pen in Chrome Webstore

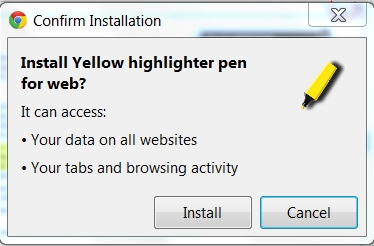
Now click on the blue button „Add to Chrome“(in the right upper corner). Next you will see this pop-up screen:

Click ‘Install’.

Congrats, you’ve installed Marker! A little yellow pen icon appeared in the right corner, just next to address bar. Click on the icon to run Marker.


Mozilla Firefox

Click Install button on marker.to page and plugin installation will start from
http://www.marker.to/firefoxPlugin/markerto.xpi

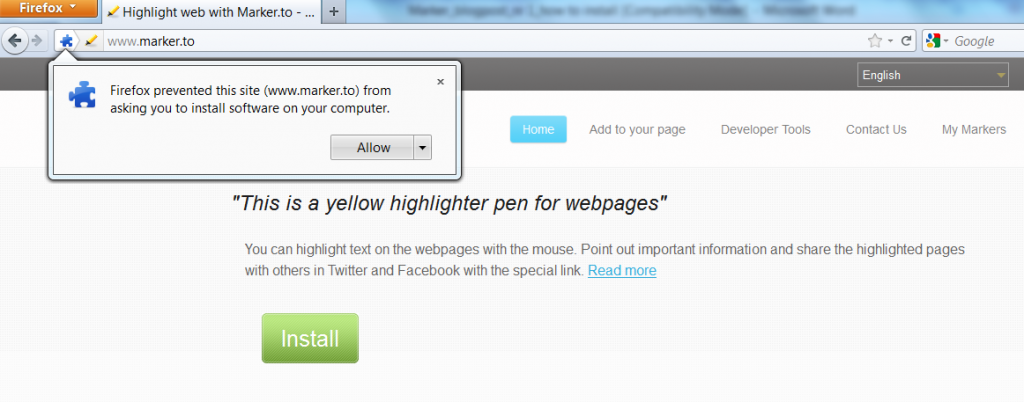
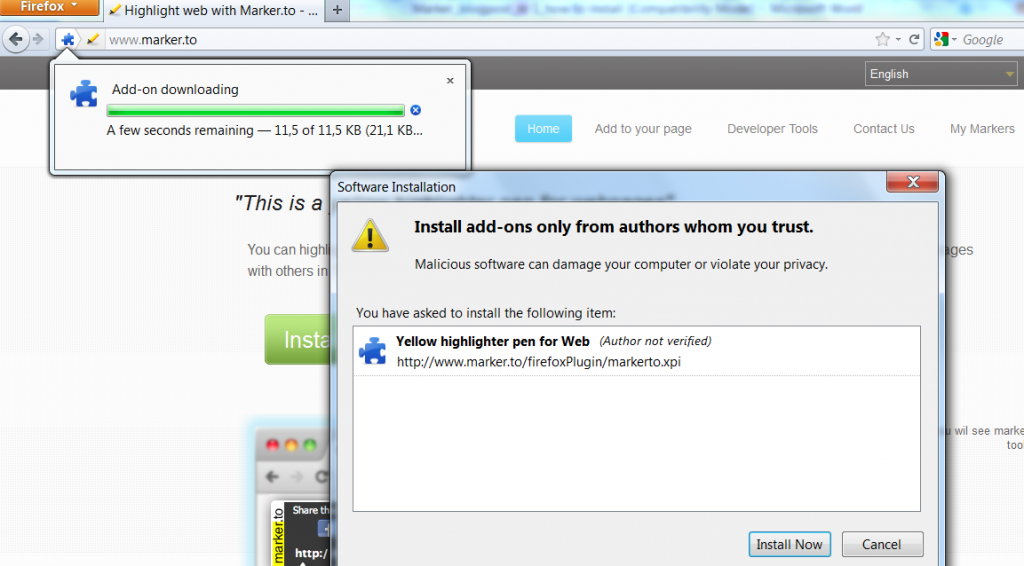
And you will see following dialog:

Click on ’Allow’.

Now two windows pop-up. Click ’Install Now’. It’s ok – Marker.to will not harm your computer!


Congrats! Marker.to is installed for Firefox. You can find the icon of Marker.to on right side, next to the address bar.


Safari

Click Install button from marker.to page and download will start from:
http://marker.to/safariPlugin/safariext.safariextz

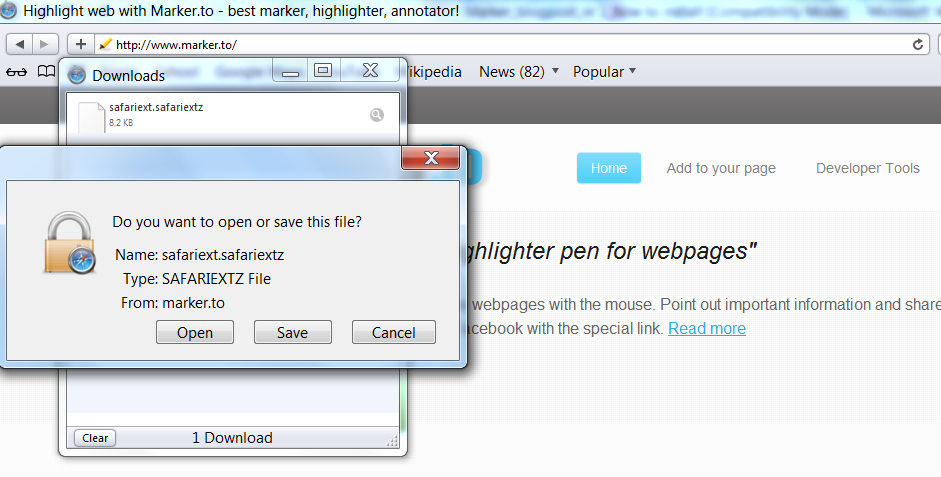
You  will see this screen after clicking Install button:

Yellow highlighter Safari install


Click ‘Open’. Another pop-up window opens.

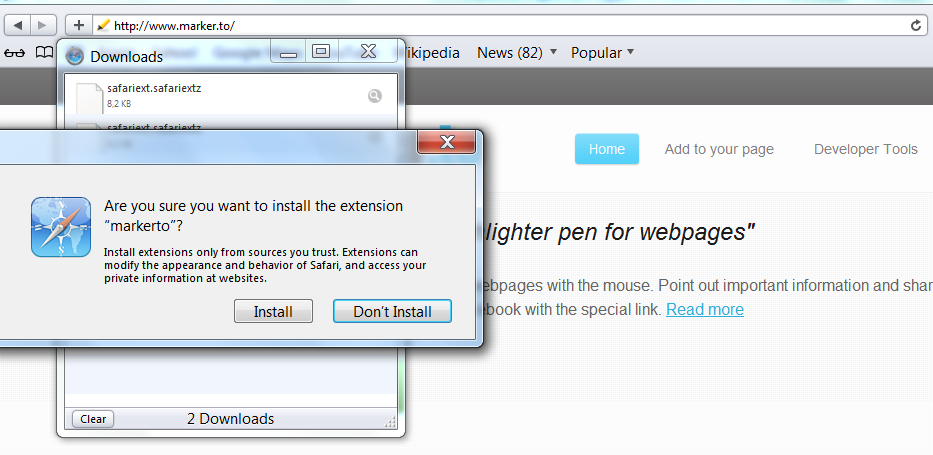
Yellow highlighter pen extension install confirmation


Click ’Install’
. Marker.to is installed if you can locate a little grey pen icon on the left corner, just next to the address bar. Click on the icon to run Marker.


Yellow highlighter pen Safari extension icon


In the next blog post we will describe how to highlihght with Marker.to.